HOME | QUICK START | IN DEPTH | ABOUT ME | ABOUT APP

In Depth Tutorial on Using GridTracks
Basics of Creating Transactions
Once you have created the accounts that you need, it is time to start keeping track of your finances!
GridTracks makes it very easy to add new journal transactions to the General Journal. Note that the General Journal keeps a record of every recorded transaction in your document. And by simply adding journal transactions to the General Journal, accounts in the General Ledger will automatically be filled in with account entries to reflect such changes. Finally, the data from the General Journal will also be used to compose your Balance Sheet and Income Statement, giving you a bird's eye view of your financial situation.
To get started, go to the Journal page in GridTracks:
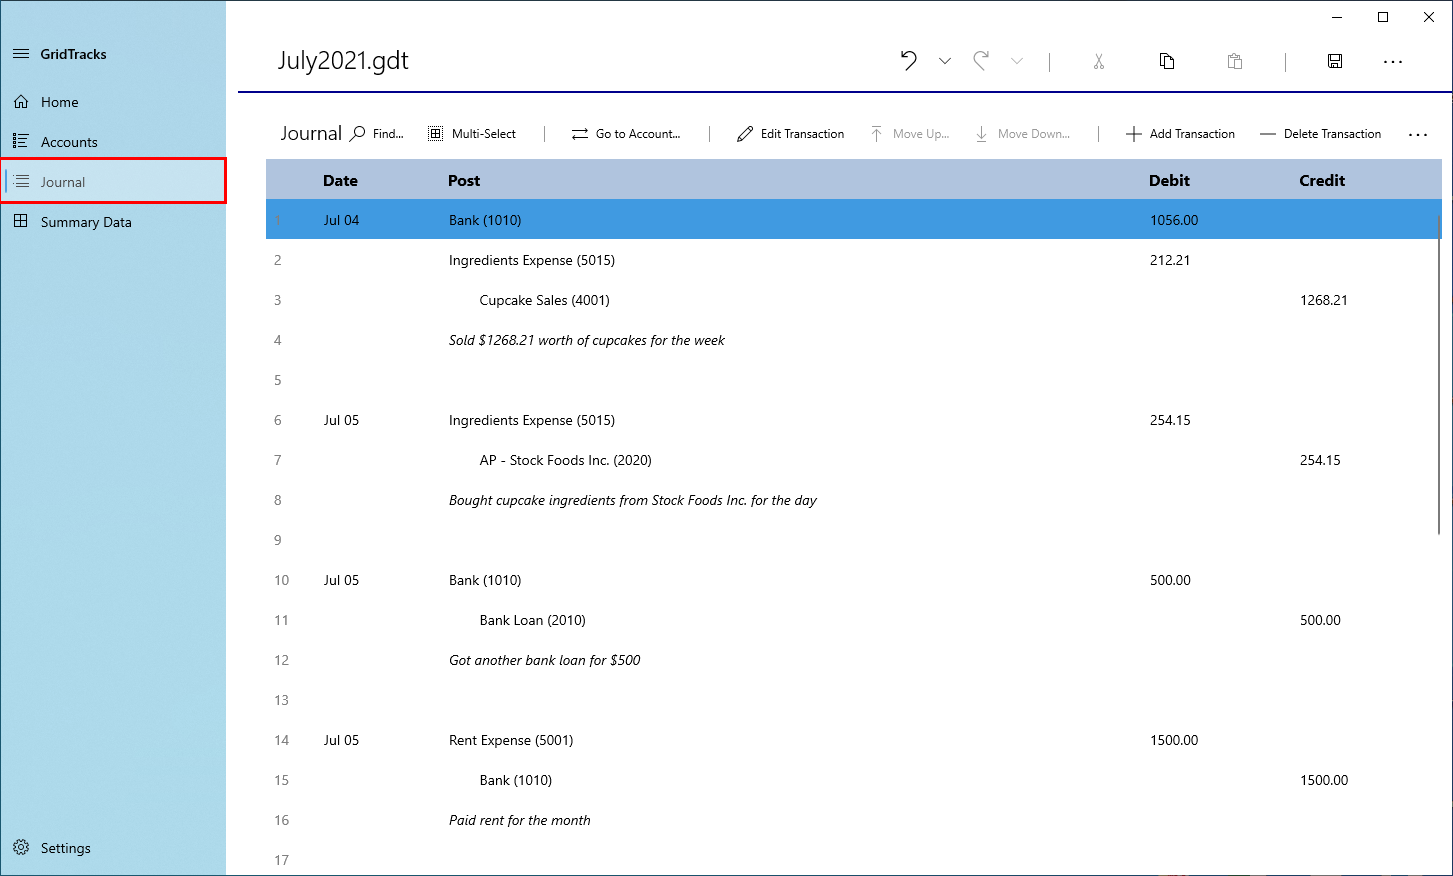
By clicking on the Journal tab in the navigation view, you are taken to the Journal page. Here you can see the General Journal
Just by visual inspection, you can see the set of journal transactions I have already inputed into the General Journal
Let us examine what makes up a journal transaction in the General Journal:
Note that a Journal Transaction consists of 4 elements. There is the date of the transaction, the debits posts, the credit posts, and the description.
-
Date of Entry
This is the date that the journal transaction was posted. Note that the time of entry is not accounted for, because it adds unnecessary complexity to the transaction. If you wish to move a transaction up or down, there is option to do this in the General Journal, provided that the journal transaction above or below, respectively, has the same date as that tranasction. Note that order and numbering in the General Ledger (more in next section) will reflect these changes.
-
Debits
All posts in the Debits section represent accounts that are debited during this transaction. Within the General Ledger, each of these posts is associated with the account in question by the line number of that particular post. Note that total combined debit post values must be equal to that of the credit posts (note that in the journal transaction, total debits = $1,056.00 + $212.21 = $1,268.21, which is the same as with total credit posts).
-
Credits
Just like with Debits, the credits represent the accounts that are credited during this transaction. These also cause the General Ledger to be updated. Note that this is the second part of the balancing of accounts, such that total credits must equal total debits.
-
Description
Each journal transaction needs a description, which explains what is going on with the transaction. For updates to the General Ledger, the description is also used with each account post entry.
Posting a Journal Transaction in GridTracks
In order to add/edit a journal transaction, you must first be taken to the Add/Edit Journal Transaction page, by hitting either the "Edit Transaction" or "Add Transaction" buttons. Note that "Edit Transaction" will modify the transaction based on the line number currently selected in the General Journal.
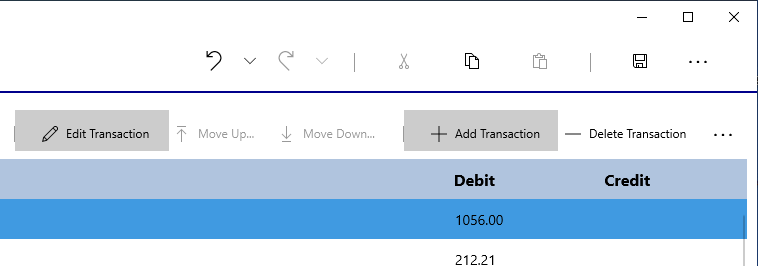
Note that the Edit Transaction and Add Transaction buttons are located at the top-right corner of the Journal page.
Note that below you will see the page you are sent to when you add/edit a transaction:
Note that Edit Transaction… looks pretty much the same as Add Transaction, but the title is different and the information from that transaction is pre-inserted into the data controls.
Once clicked, you will be presented with the page below:
Below are the various controls that show up in Journal Add/Edit mode and how to use them:
| Control | Description |
|---|---|
| Date of Transaction |
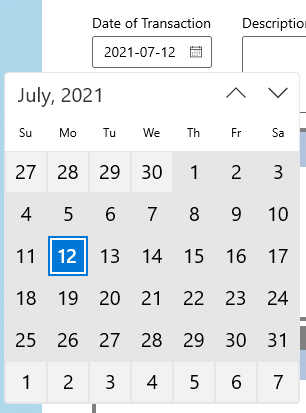
Use this control to change the date of transcation (it defaults to the current day). |
| Description |
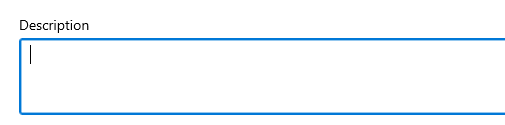
Use this textbox to input the description for your journal transaction. |
| Add Debit/Credit Post |

When you click the (+) button on the top-right side of the Add Debit/Credit post control, it will allow you to create a new debit post. This will present you with two textboxes: one that allows you to input the account ID of the account you wish to debit/credit, and the amount you wish to debit/credit. Hit the checkmark to approve changes, the 'X' to cancel out. 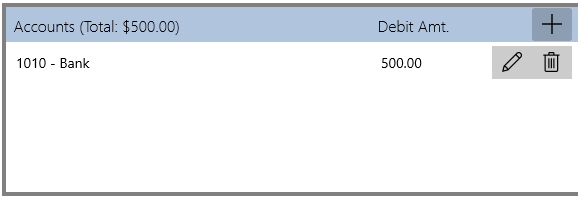
Once you have approved a debit/credit post, it will show up like this. Note that you can go back to editing by hitting the 'pencil' icon, while the 'delete' icon will remove the post. Up at the top-left you will notice a label that says "Total", which will tell you the current value of debit/credit posts currently inputed. This will aid you with balancing. Please note that while the images shown above are taken from the section that allows for the addition of debit posts, this same procedure can be applied to the credit post side. |
| Journal Preview |
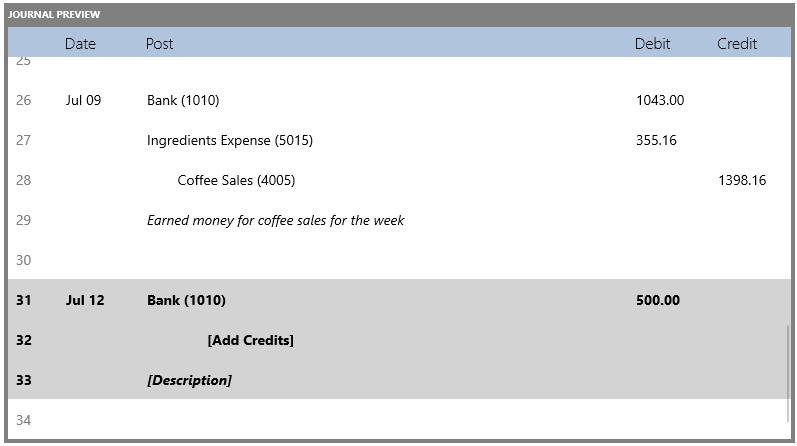
This control allows you to see what the journal transaction you are trying to add/edit will look like in the General Journal after changes are accepted. Note that newly added transactions will show up after the last transaction in the journal with the same date of entry. The same goes for editing journal transactions, unless the date of entry of the edited transaction is the same as the original, in which it will remain in the same place. Note that you cannot move transaction up or down while adding/editing a journal transcation, and must wait until you get back to the General Journal view mode. |
| Add Cash Sales Receipt |
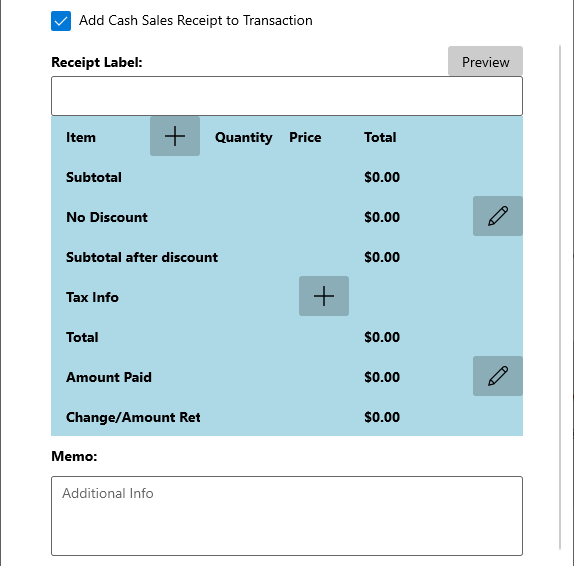
By checking this checkbox located at the bottom, you can add a new Cash Sales Receipt. This will allow you to provide more information about your transaction. |
| Accept/Cancel Changes |
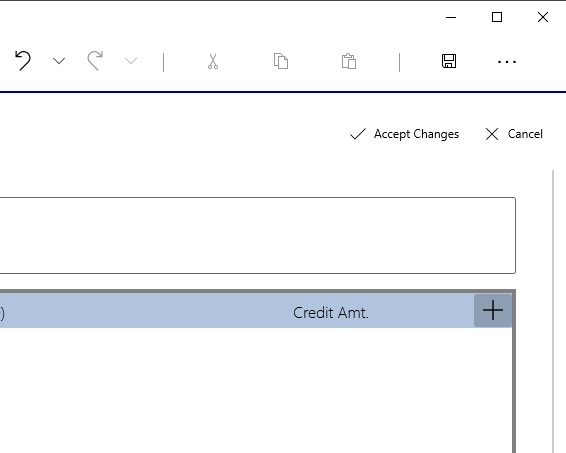
Once you have completed everything, you can either accept the changes, or cancel. Both these options are located at the top-right corner of the Journal Edit page. Note that while you can cancel anytime, accepting changes requires the transaction info to be valid. This means that a Date of Entry must assigned, the description cannot be left blank or be whitespace, and there must be at least one valid debit entry and one valid credit entry. Finally, the combined total debit post amount must equal that of the credits (transaction must be balanced). Whether you choose to add a Cash Sales Receipt is completely optional. |
Next Steps
- More on the General Journal and General Ledger
- More on General Journal Transactions
- Dealing with Inventory and Sales
- Payroll
- Asset Depreciation
- Paying and Collecting Interest
- Finalizing Data
- Viewing Summary Data (Balance Sheet, Income Statement)
- End-of-Period Preparations
Credits
Please note that most of the information from this site is taken from the book "Bookkeeping for Canadians for dummies" by Lita Epstein and Cécile Laurin.
(Epstein, L., & Laurin, C. (2019). Bookkeeping For Canadians For Dummies. Hoboken, New Jersey: John Wiley & Sons, Inc.)